Thursday, March 12, 2020

Tips for cleaning your piano

There are 3 types of Polish on pianos

When considering cleaning your piano, it’s important to note the type of polish it is finished with. Using incorrect products on surfaces can lead to severe damage. There are three kinds of polishes, high gloss, french polish and spirit lacquer.

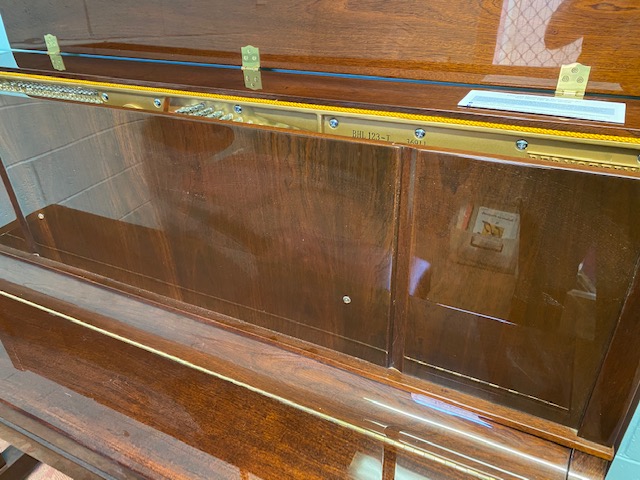
High gloss finish pianos

Modern pianos with a high gloss finish have what is called a 2 pack finish. This is like a thick plastic finish. To clean hi gloss finishes like this you can use a clean moist shammy. This is good where there is a lot of thick dust on the piano.

However recently we have been using a new polish called Brillianize. We sell this for $25.00 per 240ml pump spray with a microfibre cloth to use with it.

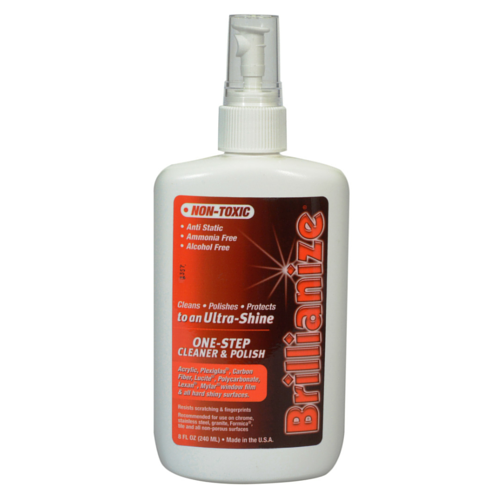
This Polish can be used for any shinny surface around the house and some customers buy it by the litre. You will need to call us and order first though.

If your piano is modern and has a flat finish then just use the damp shammy. If you use the Brillianize on this finish it will go shinny as Brillianize fills very fine scratches.

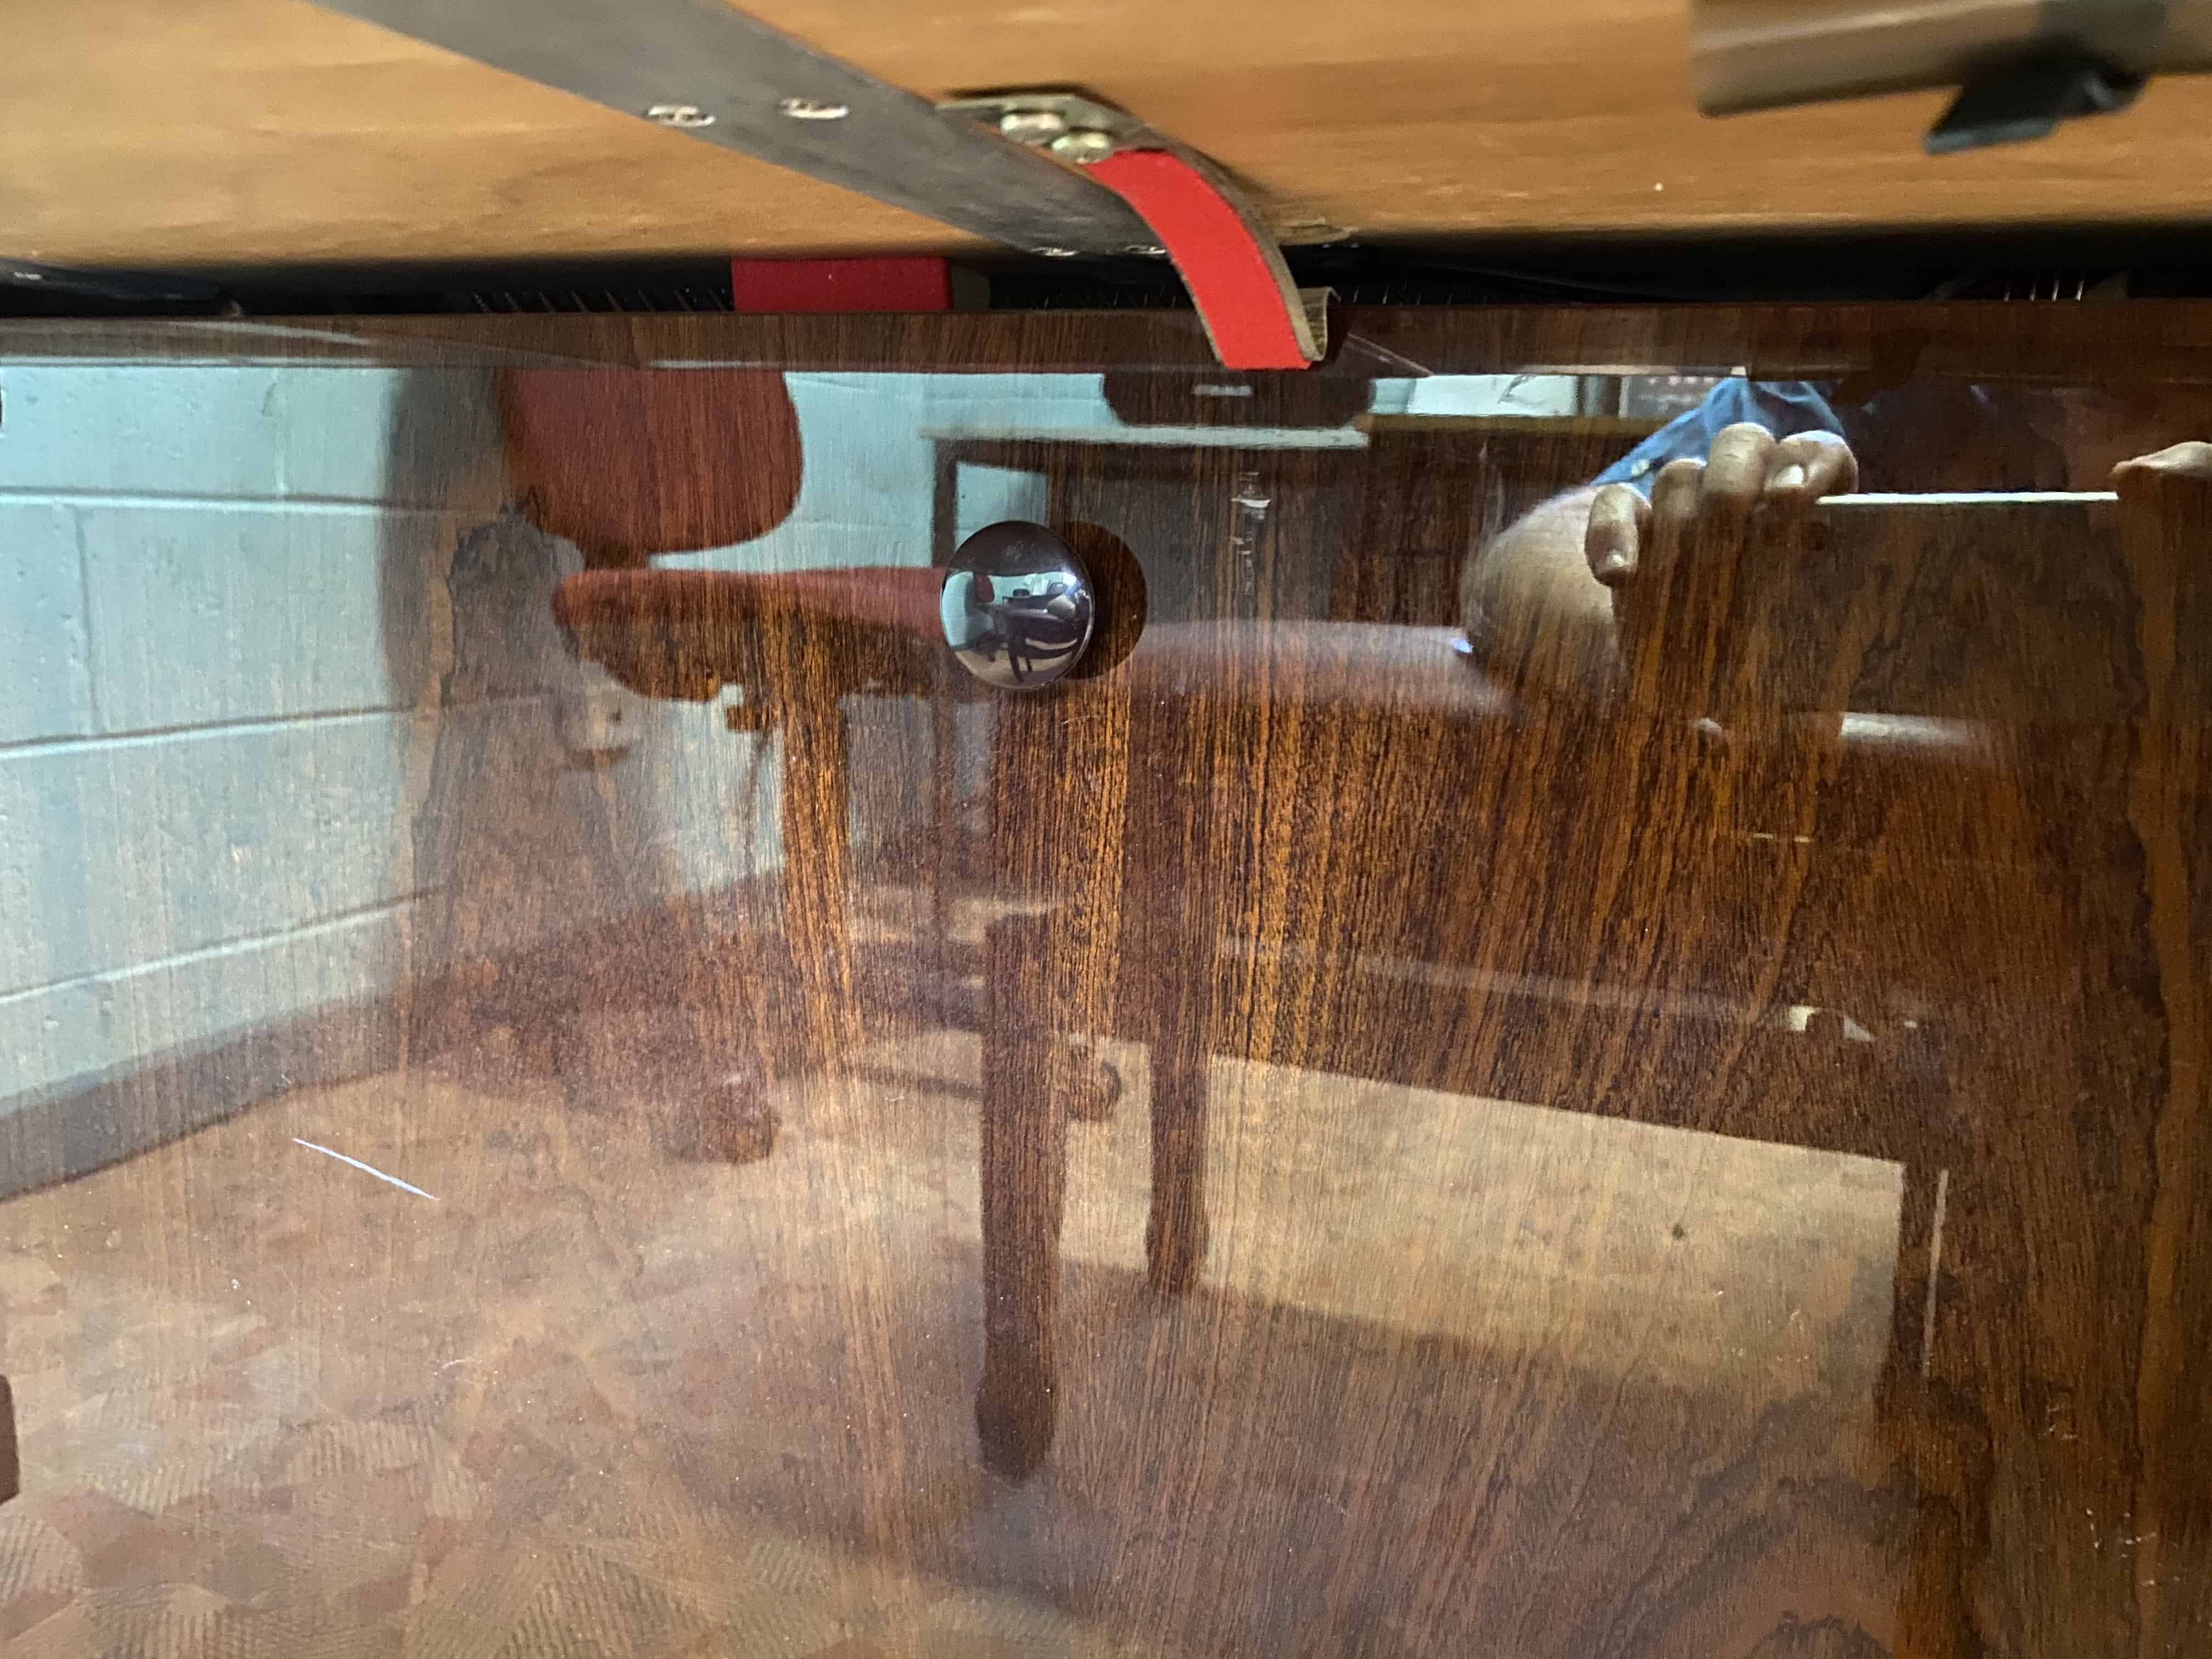
High gloss french polish and Spirit lacquer finish

Older piano have a high gloss French Polish finish or a Spirit Lacquer finish. In Perth we have a manufacturer’s of a very good Polish for this type of finish, it’s called Gilly Stevenson’s liquid bees wax Polish. The Gillie Stevenson’s range is available direct or from Bunnings warehouses. If you’re in a country town, IGA often stock this Polish! One Polish we have found very good for tired pianos is their Scratch cover.

It’s a good idea to start with the Cleaner and Reviver. You will need lots of elbow grease but your persistence will show under the grime and years of waxes the original high gloss finish. You might find it easier to put a blanket on the table and remove the bottom door and start with that.

Related article: how to take your piano apart safely.

If you decide to remove the parts you can carefully vacuum clean inside the piano with an old paint brush and the crevice tool.

Tip: Don’t use a wet cloth on old pianos. They have a veneer finish and it will lift the Polish.

If you want your old piano looking fantastic then we offer an open grain genuine French Polish finish as part of our Polishing service. Send photos of your piano and we can give you an estimate.


How to clean the keys on your piano

I often get asked how to clean the keys on the piano. Modern pianos have a plastic like cover on the keys and the plank keys are plastic as well. You can use the Brillianize Polish on the keys however it does make them quite slippery. Good if you want to play God save the Queen in 14.65 seconds but not generally recommended.

I suggest using a slightly damp cloth. Then go over with a tea towel after.

Ivory keys

If you have ivory keys ( you can tell if you can see a join in front of the black keys ) then use the slightly damp cloth but make sure the white and black keys are dry straight after. This will take off the finger grease and kiddy grime.

The black keys on an old piano are often high gloss French Polish so they don’t like moisture. And the ivory will curl and lift if they get wet so it’s very important to dry the keys as soon as you have cleaned them. I normally do octave at a time.


Brass hinges, locks and lock plates

Pianos have brass hinges, lock and lock plates. To clean these it is best to get a professional to do it. They need to be removed and screws in the action of a piano will cause sticky notes.

When we clean the brass work we use a buff and steel wool with Brasso. We then coat the finish with a lacquer to stop the brass work tarnishing. So if you do try it yourself this lacquer  needs to be removed first. Lots of hard rubbing.


Polishing the pedals on the piano

Pedals are also covered with Lacquer and so if your persistent you will get a good result. If you are using Brasso and steel wool then you will need to protect the Polish finish on the piano with a cardboard cut out or masking tape!


Hope this helps!

Please don’t hesitate to contact me if you are not sure. You can always send photos and I will do my best to advise the best solution.

  • Gary

The post Tips for cleaning your piano appeared first on Piano Magic.


from Piano Magic https://www.pianomagic.com.au/maintenance/tips-for-cleaning-your-piano/

Tuesday, February 18, 2020

How do I take my piano apart?


From time to time I have people calling me from regional areas with problems with their pianos. I am always able to help over the phone, and even via Face time! But sometimes it can be hard for people to visualise the parts of the piano. This blog aims to teach you how to pull your piano apart to do tests, as well as then put it back together safely.


Names of piano parts

  1. The very top of the piano is the Top Lid
  2. The next front panel is called the Top Door
  3. Moving down, we have the Hollow
  4. The lid over the piano keys is called the Fall
  5. Under the key bed is the Bottom Door


Top Lid

Top Door

Fall and Hollow

Bottom Door & Retaining Clip


Removing the Bottom Door

It is important to start by removing the bottom door as it is the most needed to come out. If you look under the key-bed (this is the part your knees go under when playing the piano) most pianos have a steel spring clip or wooden spring.

Try pushing up and the door will spring towards you.

Now, pull it towards you and then lift if off the dowels on the bottom of the door.

Other pianos have a revolving clip that you can turn sideways and then pull the Door forward. Some older pianos have a wooden clip either end of the Bottom Door. These turn around 45 degrees, so just pull them toward the middle of the piano then the Door will move toward you.

Replacing the Bottom Door

To put the Bottom Door back on, place the door on the dowels and push it away from your body. You’ll hear the spring clips click into place.

Removing the Top Door


First you need to take every thing off the top of the piano.

Close the fall.

Then lift the top lid and lay it back against the wall or the other half of the top lid.

At either end of the top door is a clip. Sometimes the clip is wooden and has a screw in the middle. Just turn the clip 90 degrees pull the door toward you and lift it off the dowels.

Replacing the Top Door

To replace the door fit the door to dowels and push it away from you. Hold the door and secure the clips.

Removing the Fall and Hollow

Only do this if you have a piano Tuner on the phone or someone who knows how to put it back if you can’t.

In older pianos the Fall and Hollow sits on 2 wedges on the ends of the Hollow.

To remove the Fall and Hollow lift the fall and hold with one hand then place your other hand on the back of the Hollow. Lift the Fall and Hollow at the same time ensuring both ends come up at the same time.

Replacing the Fall and Hollow

To replace the Fall and Hollow  make sure it goes back evenly. It should slip In easy.

On modern pianos the Hollow can be quiet tight. First remove the screw or nut holding the back of the Hollow if the piano has a slow fall device.

These Fall and Hollow sit on a plastic runners. It often needs more force to lift the Fall and Hollow on new pianos.


So please only do this if you feel confident you can put it back!


Happy Piano-ing 🙂

  • Gary

The post How do I take my piano apart? appeared first on Piano Magic.


from Piano Magic https://www.pianomagic.com.au/news/how-do-i-take-my-piano-apart/

Monday, December 9, 2019

How to protect your piano in the hot weather

No matter how old your piano is, dry weather is not good for it. Pianos are designed to have 35 to 50 % humidity.

Heat is also not good but the low humidity will do more damage.

Situation 1: You’re going away for the holidays

It’s the holiday season, you’re booked to go away and the air conditioning will be turned off while you’re gone. You weren’t expecting so much hot weather and you’re wondering how you can save your piano.

For many years now I have been tuning pianos in dry country areas. My first and best recommendation is the piano life saver system.

So what is the next best option in protecting your piano?

When I was about 20 I was going out with a girl in Brentwood and her mother had an old piano on the front veranda. Hot as Hades. She was told by a friend to put a 2 litre of water in the bottom. I was surprised how well it stayed in tune over the summer. So I started suggesting it to my country customers.

It all went very well till the container dried out in about 4 weeks. A normal Piano Life Saver will use 2.5 litres in 2 weeks in hot weather. See my blog on the Piano Life Saver System.

How to install the water container

  1. Open the bottom of the piano. To do this push the spring clip up and pull the door forward. Lift it out.
  2. Then find an open top container like a 2 litre ice cream container or you might find 2 one kilo margarine container will fit.
  3. Try the container first.
  4. You will find that the area to the right or treble is generally free on most pianos.
  5. It’s best not to balance the container on the pedal rockers. If someone plays the piano it might spill the water.

So this is a cheep solution to your humidity problem!

Situation 2: You’re home for the holidays

The other solution we’ve put together is if you’ll be home over the Christmas break. You’ll be enduring the hot weather as much as the piano. You might be thinking that your aircon will suffice, but in actual fact, split system air conditioners (in particular) are the worst for drying out a piano.

  • Ducted air conditioners are generally ok most of them set humidity levels at 50%
  • Evaporative air conditioners are good in dry weather however in humid hot weather they can push the humidity up to 90%.

Using the same strategy as outlined above (water container) will help with the different air conditioning types. Check the container every 2 weeks to see how it is going.

How much will your pianos pitch be affected by the temperature?

Pianos will loose or gain humidity over a 3 week period. So if for example you have a dry spell for about 3 weeks your piano will drop pitch to sometimes up to 12 cents. This is also working on the assumption that the humidity levels change evenly throughout the piano, but this isn’t the case.

  • The bass section will drop by about 3 cents.
  • The middle section near the break will drop about 15 cents and the rest up to A4 will drop about 10 to 12 cents. The treble is like the bass and will drop about 3 to 5 cents.
    If when I go to tune a piano and find this situation I suggest fitting a Piano Life Saver System. Then leave the tuning for 3 weeks then tune.

Enjoy the heat and have a very merry Christmas and a happy and safe new year!

  • Gary

The post How to protect your piano in the hot weather appeared first on Piano Magic.


from Piano Magic https://www.pianomagic.com.au/news/how-to-protect-your-piano-in-the-hot-weather/

Monday, October 21, 2019

How to fill the piano lifesaver system in your piano

Keeping your piano at the right humidity level is instrumental to maintain the tuning and playability of the piano. To keep your piano humidity in check, you should consider installing a Piano Life saver system for your piano.

Related blog: How the humidity effects your piano

This blog post will tell you how to refill this system when it runs out of water:

How to tell when it needs to be refilled:

There should be three lights on your piano. Green for power, yellow for water levels and red for pad moisture levels. The power light should be on all the time. The yellow light will start flashing when the piano needs water, and the red pad light will flash once the system has completely dried out. Usually you have approximately three days from when the yellow light starts flashing until the red light starts flashing. In Summer you will likely need to fill it up sooner rather than later, but in Winter you will be fine to leave it a couple more days.

Filling up your piano lifesaver system:

You will need:

  • Your piano lifesaver refillable bucket. It is shaped like a watering can and should come with the system.
  • Fresh water. Rainwater is best. Next best is distilled water. Filtered water is also okay but using filtered water will mean you need to change your humidifier pads more regularly (every 6 months rather than 12 months). Basically, the less solids in the water the better.
  • Pad treatment. This will keep mosquitos out of the water and stops mould too.

Steps:

  1. Fill your refillable bucket up to the marker and mix one cap full of pad treatment with the water in the bucket.
  2. Attach hose firmly to the nozzle of the bucket, then tip the bucket on its side and let the water run down the hose to the piano.
  3. Once the bucket is empty is will let out a ‘burp’ noise. Watch out for the last dribble of water in the hose, you can tip this back into the hose to stop it from getting on the floor.
  4. Clip the hose back under the piano, your system should be filled up and ready to go. The yellow water light should stop flashing at this point, however the red pad light may take up to ten minutes to stop flashing if the system has completely dried out.

Remember, I am always here to help or service your piano if you have troubles with the piano or refilling the Piano Life Saver System.
Enjoy your piano…
Gary

The post How to fill the piano lifesaver system in your piano appeared first on Piano Magic.


from Piano Magic https://www.pianomagic.com.au/news/how-to-fill-the-piano-lifesaver-system-in-your-piano/

Monday, October 14, 2019

Is a cheaper tune a wise decision?

At Piano Magic, I had a customer ring in to book an annual tune. Our standard fee for tuning applied, plus this particular customer also wanted some new pads and a treatment for their Piano Life Saver System. The customer called us back and had got a quote to tune the piano at a cheaper cost.

The questions begin for me,

– Is the cheaper piano tuner as experienced

– Will the piano sound as good after the tuning if they have less experience?

– Will this piano tuner know how to service the Piano Life Saver System, and does he carry the parts needed for the service?

– Will the customer know the difference? In the short term, probably not.

So what really is the difference?

When a tuner is experienced, and has an attention to detail, the end result is a piano that plays nicer. Most people don’t realise the higher standards that Piano Magic put on everyday pianos.

When I finish tuning a piano, I play a song. This process serves two purposes. I am able to test if the pianos performance is up to scratch, and I’m also able to identify if there is any room for improvement.

If a child was to play the piano after Piano Magic has tuned it, versus a cheaper tuning service – the difference you’d be able to tell, is the piano responding to the emotion.

The difference also then relates to the amount of time the person playing the piano spends at the piano each time they play. The better the piano sounds and the easier to play, the more enjoyable the experience is. The more time spent on the piano equals better muscle memory!

If you’re committed to learning piano and want a pleasurable experience playing it – give us a call for a top tier piano tuning.


– Gary


The post Is a cheaper tune a wise decision? appeared first on Piano Magic.


from Piano Magic https://www.pianomagic.com.au/news/is-a-cheaper-tune-a-wise-decision/

Tuesday, September 17, 2019

How to shift a grand piano

To shift a grand piano, there is a strict procedure that I recommend following. If it’s possible to get someone that knows what they’re doing – take that choice. If you have a removalist that says they can do it, just check if they have a proper piano moving trolley in good condition. Wheels with steel rims, preferably with solid rubber wheels. Pumped up tyres can burst under the weight of a piano. See below an image of my piano shifting trolley specifically for grand pianos and uprights.


Equipment you’ll need:

  • Truck with tail gate loader
  • 40mm wide ratchet strap (this is to stop bruising)
  • 2 pieces of carpet
  • Blankets to wrap parts – the more the better, there are about 7 parts that will need wrapping.
  • A felt tip pen to mark legs (not black)
  • A bag to put the pins and bolts into
  • Team of at least 3 people

Steps on how to move the piano

  1. Fold back the top lid
  2. Remove the hinge pins and put them in the bag. Lift the lid vertically and stand it on the floor with the flap at 90 degrees. Make sure it’s out of the way.
  3. Remove the music desk. This slides out toward the front of the piano. Wrap in the blanket.
  4. Remove the fall (lid over the keys). On some pianos you need to lift from the left hand side against spring.
  5. The lid needs to be 45 degrees when you lift it out. Don’t force it. Some pianos need a small flat blade screwdriver to remove a small screw from each end. Check before removing the lid. Wrap in blankets.
  6. Make sure there is adequate space around the piano as it needs to be tipped on the long side.
  7. Check that the lyer is tight if it looks broken or wobbly you can’t shift the piano using this method.
  8. The lyer will need to be removed and you will need more people to hold the weight.
  9. Lift the piano on the corner front Bass. A folded blanket needs to be placed under the lyer. Their needs to be some blanket on the bass side of the lyer.
  10. Someone needs to hold the piano down on the treble end.
  11. The bass leg is now swinging in the breeze.
  12. Place the trolly under the long side of the piano.
  13. Remove the leg by undoing the screws or bolts. Mark this leg bass and mark under the piano the same. Take note of the length of the bolts and if their different mark which one came out of which hole. Generally they are the same.
  14. Lay the piano over onto the trolly. DO NOT LIFT A THIS STAGE. It will swing on the back leg and the Lyer.
  15. Align the bottom edge of the piano with the two wheels closest to the piano. The trolly will want to tip forward. This is ok.
  16. The front edge of the trolly needs to be aligned between the dampers and the tuning pins. Depending on the length of the grand. The longer the grand the further the trolly needs to be toward the middle.
  17. Keep pressure on the piano to hold the piano in place.
  18. With 3 people on the under side on the piano lift slowly and carefully. The piano will tilt back first then it is ok to lift the piano to a vertical position.
  19. Check the balance of the piano. It should be not heavy on to front. Be aware of the balance or put the piano down and move the trolly.
  20. Remove the legs mark them and the piano where they came from.
  21. Remove the lyre some lyer struts slot into a hole and then swing back against the piano. Some are screwed onto the bottom of the lyer. Don’t  undo these screws. Undo the screws on the bottom of the piano.
  22. Be aware of the bolts sometimes the lyer bolts are longer and sometimes the back leg bolts are longer.
  23. Move the piano and turn by lifting one end. Generally it’s easier to lift the round end.
  24. Be careful of the trolly moving under the piano. This edge is sometimes slippery. Some times depending on the tailgate lift it is easier to load the gran over the edge of the loader.
  25. Then tilt the tailgate to the level position. 2 people need to hold the piano as it’s lifted.
  26. Roll the piano into the truck with the bottom close to the side. Cover the piano and strap from the kidney to the middle of the keyboard. Place carpet doubled under the strap. The lid can be stood and strapped to the other side of the van.
  27. Pick up the legs,lyer, bolts, music desk, fall, and piano stool.
  28. If the Piano needs to go up a step. Tilt the piano back so the front wheels go on the step then lift the back of the piano up the step.
  29. 2 steps you will need a ramp. Place the ramp on the first step then tilt the piano up the second step.
  30. 3 steps you will need a longer lamp.
  31. To put the piano down follow the steps in reverse. Remember to put the folded blanket under the lyer.Hope this helps… Gary


If you’re not confident doing this yourself, see our piano moving and shifting prices. If you have any questions, please don’t hesitate to call me!

You can also watch Gary’s tips below in our Piano Moving Safely video.

The post How to shift a grand piano appeared first on Piano Magic.


from Piano Magic https://www.pianomagic.com.au/news/how-to-shift-a-grand-piano/

Wednesday, September 11, 2019

Why does your piano need regular tuning?

There has never been any acoustic piano made by any company, at any price, that does not require a schedule of regular tunings. It is also a fact that a piano will go out of tune whether it is played or not. By far, the main reason why pianos go out of tune is due to changes in humidity from season to season, affecting pianos, new and old, played and unplayed.

In Perth, Western Australia the pitch of pianos drops flat in the summer months when dry heat draws moisture out of the piano’s soundboard. In the spring, the air is usually moister. The soundboard absorbs this moisture, expands and causes the piano to go sharp by winter. These seasonal changes in tuning are often most noticed in the mid-range of the piano. Piano Magic prefers to tune your piano in the spring and autumn. The frequency of playing your piano will impact how often you should have it tuned.

Related blog: How often should you tune your piano?

Fluctuations in room temperature surrounding the piano cause less of a change in tuning than humidity changes. But, direct sunlight or heat can cause rapid changes in tuning. Sometimes you might play your piano and think this sounds awful. Then the next day it’s OK. This is because of humidity changes in the room.

Related blog: How the humidity effects your piano

When you move, it is not so much the transportation of the piano that throws the tuning out as is the piano acclimatising to its new room environment. If you think the environment is the same, then the piano can be tuned at the same time. However, we always suggest a retune six months after a shift. Often the piano has not been tuned for years in which case it will need a tune after it has been shifted.

New pianos have new strings that stretch and cause the pitch to go flat. New music wire is quite elastic and starts to stretch as soon as it is pulled up to pitch. This is why new pianos or pianos that have been restrung need to be tuned more frequently in the first 2 years. Each time the wire is pulled up the amount of stretching decreases and the tuning stabilizes.

Slipping tuning pins can cause a piano to go flat. Older pianos that have been exposed to regular seasonal humidity changes over the years can have loose tuning pins and as a result, have poor tuning stability.

The louder and more often you play a piano, the faster it goes out of tune by a small amount. The force of a hammer repeatedly hitting a string can affect the equalization of tension along the string’s length, and cause its pitch to be slightly altered.

To put the matter of tuning in perspective, remember that a concert piano is tuned before every performance, and a piano in a professional recording studio, where it is in constant use, is tuned 3 or 4 times every week as a matter of course.

Related blog: Inside look into a typical piano tuning.

How long has it been since you’ve had your piano tuned? It’s often the question that plays on our customers minds. At Piano Magic, our piano tuning services are second to none. Gary’s commitment to excellence and persistence in the latest tuning advancements will leave your piano sounding like a joy to behold. Get in touch with us now to book your next piano tuning.


I hope you enjoyed this Blog…

Gary


The post Why does your piano need regular tuning? appeared first on Piano Magic.


from Piano Magic https://www.pianomagic.com.au/news/why-does-your-piano-need-regular-tuning/